Showing posts with label Birthday. Show all posts

Thursday, August 15, 2013

Camo Cupcakes

My son just celebrated his 5th birthday.  He is my only summer b-day in the family and I was so excited to make him an ice cream cake, but he didn't want one.  He wanted cupcakes!  Cupcakes? Really?  And then I remembered that my friend had made some darling camouflage cupcakes for her oldest sons birthday this year.  Well, my little guy loves camo everything, so I knew they would be a hit!


My girls were very excited to help me with this adventure, and we ALL love how they turned out.


Here is what you will need...

Chocolate cake mix
White cake mix
All the ingredients that go with the two cake mixes (eggs, oil, water, ect...)
Green food coloring
four mixing bowls (can be small)

Make your cake mixes according to directions, DO NOT BAKE.  :)
In the four bowls you will need 1. just white, 2. just brown, 3. will have white with a dash of brown and green food coloring to your liking, and 4. will have equal parts of both chocolate and white.
so again...
1. white
2. brown
3. green
4. tan
I hope this is not confusing.  :/

Line your cupcake pan.  Preheat the oven according to the directions on your cake mix boxes.
Now for the fun part!! Have one teaspoon for each bowl.  I used our cereal eating spoons.  My girls were each in charge of one bowl and I had two.  Then we just started putting a spoonful of our color into each cupcake liner.  Fill them until they are about 2/3 full.  Bake.
I made my basic Cream Cheese frosting and just added a little cocoa to make it tan.  My son LOVED them!

4 oz cream cheese
1 cube butter
1/2 tsp vanilla
4 C. powdered sugar
Mix ingredients.  You can add a little milk if it is too thick, but you probably want it a little on the thick side for cupcakes.

Enjoy!
~Rachel~

Thursday, April 18, 2013

Store SALE!!!

  Hey Everyone!!!  We are having a sale in our store now through the end of the month!  We are trying to add some new fun items we have been working on and want to have a sale on some of the favorites.  So visit our shop and enter this code in at check out:  SHOP10  and you will receive 10% of your purchase of $12.00 or more.  We hope you enjoy it, but hurry because there are only 2 weeks left in the month!  Here is a preview of a couple of our newest items.

Handmade Silk Flowers (with or without the feather accent)


Boys and Girls Ribbon Pacifier Clips


Boys and Girls Beaded Pacifier Clips


Family Birthday Boards.  With Mother's Day coming around, it is a good time to start thinking of her. These are awesome ideas for Mom's and Mother-in-laws!


The Missionary Board has been a really Neat quote for families to have in their homes while their loved one is serving!


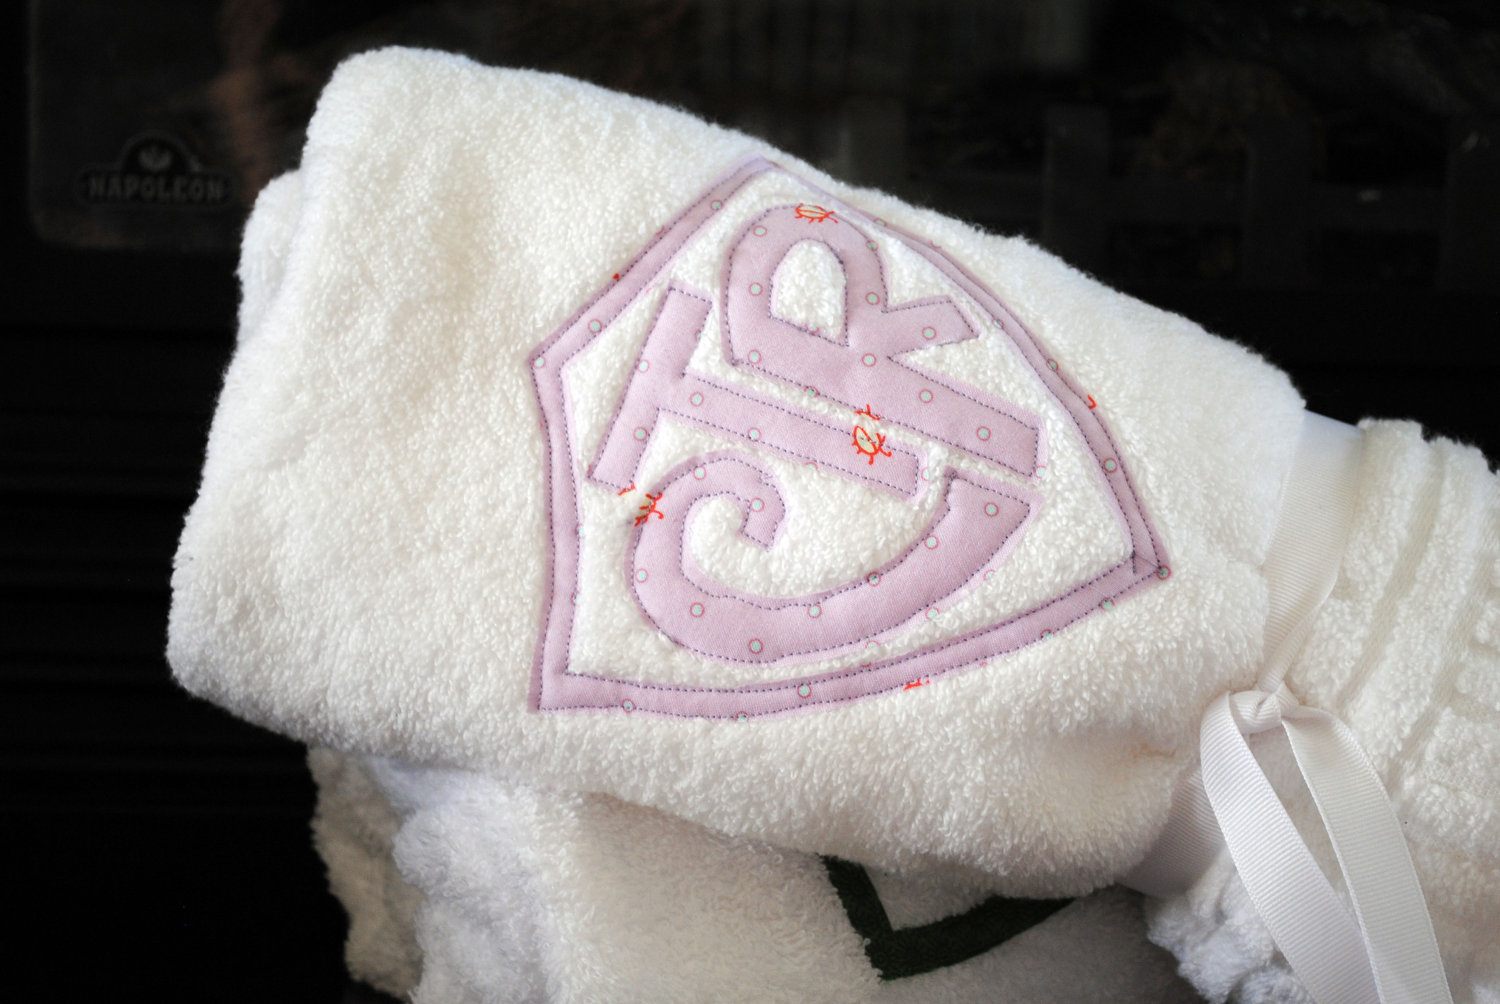
These CTR Towels have been awesome gifts for all kids turning 8!


Sunday, April 14, 2013

60th Birthday Party Bash!!!

  We all got to celebrate a really fun thing over the Spring Break week (for Stacy) and that was our Dad's 60th Birthday!!!  We started planning this back in February and wanted to keep it a secret from him.  When you come from a big family, you understand that can be a hard task so to pull it off, it was going to take a lot.  Our family has also always been very neat in the fact that we have done everything with extended family included, so of course, we knew we would invite all of his siblings too and their children if they wants, so the secret part was really being tested here.  Michelle and Stacy were also coming from AZ and wanted to keep that part secret as well.  We let our mom in on it so she could help in the planning and making sure he and they would all be home.  We kind of divided up jobs amongst all of us kids so the burden wasn't left on just one person.  Well, the party went off AWESOME!! and we wanted to share some of the things we did in case you may be planning a surprise party of some sort. . . anniversary, birthday, etc.
  Our dad is a HUGE Yankees and Sports fan so of course we had to go with that as our theme.  Mary was in charge of the decorations and did an awesome job.  She had little noise makers for the kids for when Dad got home so they felt like they were really helping.


  Melanie was in charge of the food.  She had Rachel and Heather make a Shrimp Pasta, and Spaghetti, rolls, Meagan made a fruit salad that everyone loved.  Melanie made German Chocolate and Caramel Cupcakes plus a Blackberry Swirl Cupcake. Stacy made lemon bars. (Recipes will be at the bottom!)


Then Melanie made this fantastic cake and fondant icing!  Just look at the details on the hat and the buttons.  It is pretty incredible.


  Dad had some meetings before the party so the surprise part worked out great.  Once he got home and we got the reaction we were all hoping for... Definitely Surprised!!  All of his siblings were able to come and all of us kids were there too.  Awesome!!  We moved on to the rest of the party.  We had all written down favorite memories of Dad.  Mary and John (our brother) put on a sports cast session including these "facts" about Dad.  It was funny and awesome.  


  We opened presents, one of which included the movie Michelle and Stacy put together.  It was also pulled off by everyone adding photos of Dad (onto www.Dropbox.com).   It was so much fun seeing all of the fun things we have done as a family over the years.  We have had some amazing times together.


After the movie we just ate dinner and visited with everyone until people had to start heading home.  It was so much fun and Dad had such a great time.  He was so surprised that we had kept it a secret from him all week.  He was so grateful that all of his kids and siblings made the effort to put this on for him too.  Definitely worth it!


Spaghetti Sauce
1 pound ground beef cooked and drained
2 quarts tomatoes (Drain some water, squish them – I use a potato masher)
2-3 cans tomato paste
4-5 tablespoons sugar
1 ½ teaspoons salt
2 cloves garlic minced
1 teaspoon Italian seasoning
1 ½ tablespoons dried onion
4 tablespoons parsley flakes
1 teaspoon oregano

Mix all together and simmer in a pot 3-4 hours or 6-8 hours in a crockpot.  It seems like the longer it cooks the
better it tastes and it also thickens it up more the longer it cooks.


Creamy Tomato Shrimp Over Pasta
12 lg. tomatoes
3/4 c. butter
1/3 c. sugar
1 1/2 tsp. kosher salt
1/2 tsp. coarse black pepper
1/2 tsp. crushed red pepper
1 1/2 c. heavy cream
5 green onions
2 tbsp. olive oil
2 green peppers
2 lbs. large shrimp, cooked and deveined shrimp
16 oz. pkg. angel hair pasta


Clean and dice tomatoes.  In a large pot melt butter and gently stir in diced tomatoes.  Add sugar, salt, pepper and crushed red pepper.  Let tomatoes simmer for 30 minutes, stirring occasionally.  Fold in heavy cream and sliced green onions.  Rinse green peppers and remove seeds; cut into small pieces.  Heat olive oil in a heavy skillet and sauté green peppers.  Fold in cooked shrimp and fry until the tips are golden.  Add to tomato sauce.  Cook pasta al dente according to directions on package.  Serve creamy tomato shrimp over pasta.

~Stacy~


Tuesday, August 14, 2012

Birthday Banner Tutorial

I got my supplies at Hobby Lobby. This is what all I used:
**1 Roll of Wrapping Paper
**2 Super Cute Pink Boa's
**13 Popsicle Sticks
**Hot Glue Gun
I first cut out the pieces and did them 5" across the top and 9" Long
Then I added pink vinyl letters to it, you just have to be careful when your pulling off the transfer tape so you don't ruin the paper, I ended up just cutting right around each letter so you don't have much to pull off.
I figured that since it was wrapping paper it would be flopping and blowing around when it was hung up so I hot glued a Popsicle stick to each one to weigh it down (but later I put the pictures on and that would work just fine to weigh it down) 
I found it was easiest and I didn't burn myself as much if I turned it around to glue it on, then you can see where you gluing it, because this boa has a rope that runs through the middle of it.
And below is the final product! 
If you liked the Zebra cake you can find the tutorial here!
--Michelle--
PS...Hobby Lobby has a ton of different patterns of wrapping paper and different colors of boa's...so hopefully they will have something that matches your party needs :)

Friday, July 27, 2012

How to make a Pinata

We went to a birthday party for a friend the last week and they had a pinata for the kids to hit.  My kids came away thinking that was the coolest thing ever!  Me, being the cheap-o that I am, thought... "We have a birthday coming up next week, I think I can make one."  And we did.  
I would give yourself 4-5 days to get the whole thing accomplished.

What you will need:
Balloon
old newspapers (only a couple depending upon the size)
flour
water
large bowl
crepe paper
glue
pencil
candy

Seriously, besides time, this cost me maybe, maybe $2.50 vs. $20-25 in the store (not including the candy)

 The first step is to make your "glue" or paste.  I used 1 C. flour to 2 C. water.  Mix it really good with a fork or whisk.  Cut newspaper into 1 1/2"- 2" strips.  
Now comes the messy part.  I would lay out extra newspaper underneath your work space, I found out the hard way how fun it is to clean the goop off the counter when you are done.  Not fun!
Set your balloon in a large enough bowl that it can set the balloon inside, but still be able to have balloon to work with. You will just take one strip of newspaper at a time and dip it all the way in the paste.  When you pull it out place it in between your first 2 fingers and swipe them down to clean off most of the paste.  Then start placing the newspaper all over the balloon.  You can overlap if you need to, but mostly this time you just need one good layer.  Leave a space at the top that you can pop the balloon (later, much later).  After the whole balloon is covered you let it dry.  I let mine dry for a whole day in between layers.  

 You repeat this layering of the newspapers dipped in paste 2 or 3 more times.  The harder you want the pinata to be to crack open, the more layers you need.  I did 3 layers and it lasted through 3 kids smacking it hard 6-7 times each.  I thought it was perfect.

Next: 
Pop the balloon when the whole thing is totally dry.  
Paint your pinata a color similar to what you are going to decorate it with.  We were making a baseball, so I painted it white.  This just helps when you are putting the crepe paper down you won't see any newspaper through the spaces.
 Draw a design on the pinata.  Cut up the crepe paper into 2" pieces (or around there, my kids cut ours and there was a wide range of sizes, which is fine)
I started with the stitches on the baseball since the rest would be white.  You take the eraser end of the pencil, take a square of the crepe paper and stick it on the end like this picture below.
 Dip it in a little glue, real glue this time (Elmer's) and start sticking them on the pinata.
 I am not trying to talk you out of doing this, but it does take longer than you think to stick all this crepe paper on, but I loved the final result!!!  And so did my little birthday boy!  
My kids all helped, mostly my older girls, so this can be a family project.
The last step is to fill it up with candy, then stuff more newspaper into the top to fill it the rest of the way.  Cut 2 holes on either side of the top and tie a string about 40-50" connecting the two.  Now find a spot to hang it up and let the kids have fun!!

~Rachel~
Related Posts Plugin for WordPress, Blogger...