Wednesday, October 31, 2012

I LOVE HALLOWEEN!!!!

Truly, Halloween is my favorite holiday.  It really does fall before Christmas and Thanksgiving even.  It has always been and I think I am the only sister who loves it this much, I could be wrong though.  I have to wait until Oct. 1 to get all of my Halloween stuff out because I would totally annoy my husband otherwise, but I would have it out way before and way into November if I could! 
  Anyhow, tonight, my boys and I carved our pumpkins.  We have to wait until the very last moment in the south otherwise they will get moldy and gross before Halloween.  My boys chose 2 difficult ones and I ended up carving all of the parts but one, but oh well, I love it!  They turned out awesome!!!  Here are the pics!

Our Bat                                                                  A Dementor. . .AAAAAAH!

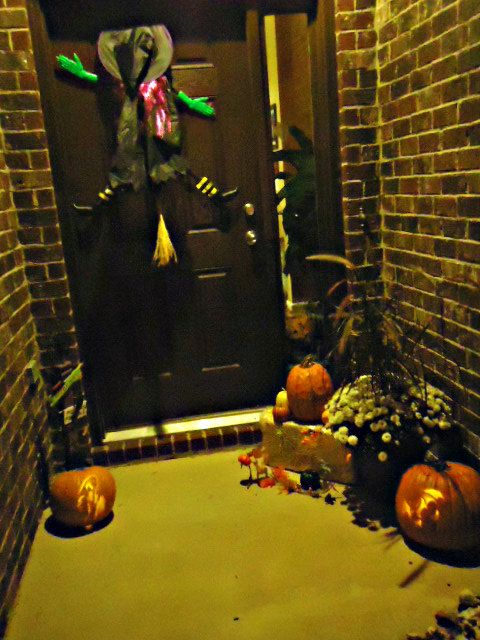
Halloweenfrontdoor
Here is the final outcome of our night of fun!
~Stacy~


Tuesday, October 30, 2012

Date Night Idea

Me and the hubby love this video! We just think it's fabulous! You could try it for your next night out. I could never do something like this, I would laugh before I even get started!


--Michelle--

Monday, October 29, 2012

Rachel's baby #4...

While Michelle was out here visiting last week she very kindly volunteered to take maternity pictures for me.  Austin has been getting after me to take some, but I just didn't know how cute they would turn out with me taking them by myself, so I jumped on the chance.  She did fabulous!  I felt a little funny being on the other side of the camera, but I really enjoyed it!  

I wanted to show Michelle her fabulous work!!! And give Stacy, Mary, and Melanie a little look-see at my belly. (hopefully it won't be there too much longer! )


Thanks Michelle!!!!!  Seriously, I owe you big time.


~Rachel~

Saturday, October 27, 2012

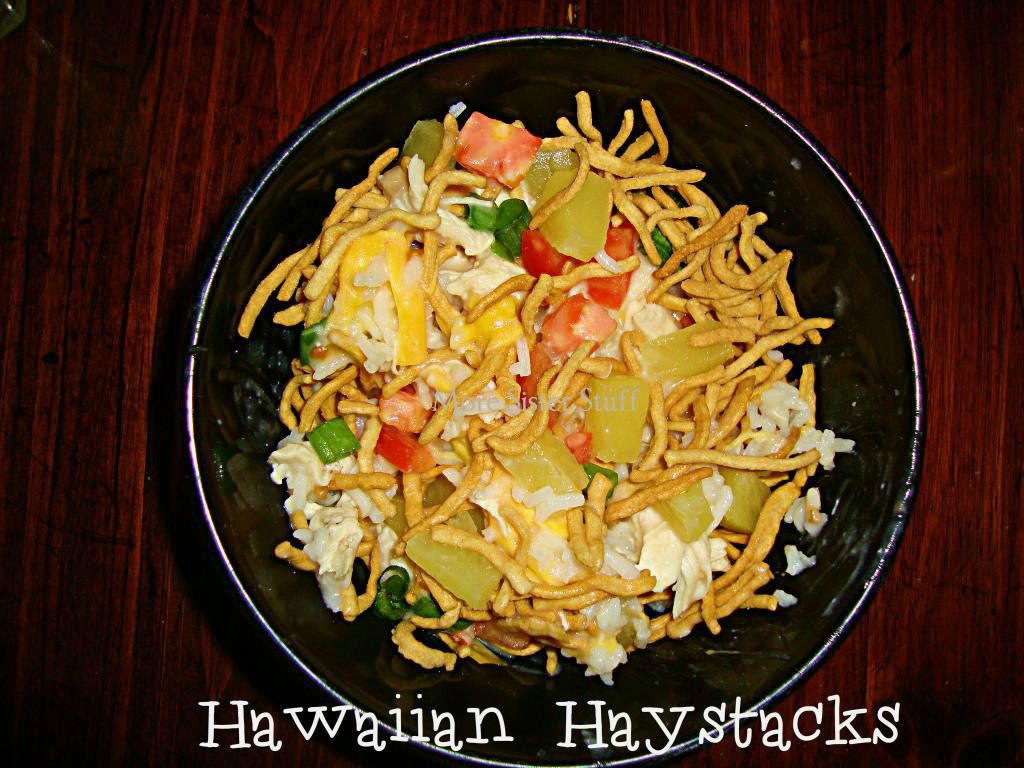
Hawaiian Haystacks

This is one of my families favorite meals. It's one of those meals that is so good, but for some reason I always forget about it...so when we eat it it makes it even better. And the best part is that it's super easy too!

Sauce: 1 can cream of chicken soup
2 chicken breast, shredded
1 cup chicken broth
*Mix and Heat

Toppings: (I usually do it in this order)
Rice
Shredded Cheese
Chow Mein Noodles
Chopped Tomatoes
Chopped Green Onions
Pineapple Pieces

Make chicken and sauce, I put it on top of the rice and cheese so it'll melt the cheese. Proceed to build your haystack with toppings in that order. Feel free to add more toppings or remove the ones you don't like!

Hawaiian Haystacks

--Michelle--

Tuesday, October 23, 2012

Top 5 Breakfast Ideas

My family really likes breakfast foods.  We like to eat them for breakfast and for dinner.  Just last night my oldest wanted scrambled eggs something bad (I think it is because she is learning to cook and loves to do eggs), so we changed our  dinner plans and had fresh grated hash browns, scrambled eggs topped with cheese, toast, and homemade hot chocolate.  Everyone was happy.  It got me thinking, I should do a post on our favorite breakfast since we love them so much.
So here we go, and they are in no particular order, just the random order that I find them. :)


One day I was looking for a recipe that called for dried whole eggs.  I found this one and thought I would give it a try.  I omitted the veggies because I just was not sure how the family would like it in the first place.  We all loved it!  I have since added different meats (ham, turkey, sausage) and added bell peppers a time or two.  It seems that no matter what I add everyone really enjoys these.  


We LOVE these muffins.  I constantly have the mix in my pantry.  My kids beg me to make muffins all the time.  I have tried them with all kids of flavors inside.  We have done chocolate chips (kids favorite), strawberries (hubby's favorite), blueberries, and raspberries.  I used fresh fruit in mine as it was coming off the vine.  This winter I plan to try some of the fruit I dried.  I am sure that will be a hit too.


My middle daughter really, really loves oatmeal.  She will almost always choose oatmeal over cereal, so when I came across this recipe I knew we had to try it.  It was a hit!  She and I eat this oatmeal for breakfast at least two times a week, it just depends upon how fast we eat all the apples in the week.  I do have one change to the recipe that we like better... I omit the nutmeg.  It is just a little too much for me.  I tried cutting it in half and it was still too much, so I just don't add it.  I am not saying it is bad, that was just all I could taste the first time.  But I still loved the recipe enough to try it again and again and again....


My hubby and I have always liked German Pancakes.  I don't make them a ton, but when I do it is like a little treat.  My kids started liking them when I saw Mel's recipe for mini, pop-in-your-mouth sized portions.  They gobbled them up.  


Buttermilk Pancakes are one of my very favorite.  They come from this blog, but she is going through a blog redesign and I couldn't find the post.  Good thing I make them so much I have the recipe down by heart (and written down).  

Buttermilk Pancakes

2 C. flour
2. tsp. baking powder
1 tsp. salt
1/2 tsp. baking soda
2 eggs
2 C. buttermilk  *or substitute*
1/4 C. melted butter

*buttermilk substitute*  2 C. milk plus 2 Tbsp vinegar.  If you are using the substitute combine these at the beginning so they can sit for 5 minutes.  
In a mixing bowl add the dry ingredients together.  
Add the egg yolks to the milk.  Mix together with a fork and add to the flour mixture.
In a small mixing bowl beat the egg white until they form stiff peaks.  Fold into the flour/milk mixture.  Add melted butter.  

We really like these pancakes and do all sorts of fun things with them.  Eat them regular with maple syrup, yogurt instead of syrup, blackberry syrup, fruit on top.  You name it and we have probably tried it.  

I hope that you enjoy these recipes as much as we do!!

~Rachel~

Monday, October 22, 2012

Giveaway Winner!!

Congrats to Kassey Harrison Koyle!!
She is the winner of our first giveaway!
Please contact us at moresisterstuff@gmail.com
and let us know where you want us to send it!

Sunday, October 21, 2012

Spiritual Sunday

Spiritual Sunday is coming a little late today, but I figure better late than never.  :)  
I taught my young Women a lesson today on the importance of staying away from addictive substances, especially drugs and alcohol.  At first when I read what I was going to be teaching I was disappointed, they knew this, they have been taught this since they were young, what could I teach them?  I came across this video that was so wonderful!  It fit perfectly into my lesson, and I knew that it could hit home with my girls.  As I thought about it, this video can really apply to all of us.  We need to make the decision now to not let Satan in with all his lures and hook us.  It needs to be decisions about everything from drugs and alcohol to staying faithful to our spouse to not getting involved in pornography.  Really, it can be anything.  If we make those choices now it will not even be an issue of temptation when then temptation comes, because we know it will, Satan wants to trap us so that we can be just as miserable as he is. 


One last little note... when I found this video I was pretty excited.  John Bagley flies his planes over my home ALL the time.  He comes out and does tricks over our area and my kids love it!  So not only is this an amazing video, it is filmed about people in my neck of the woods.  Pretty cool.

~Rachel~


Friday, October 19, 2012

Craft Fair

Sorry that we have been absent for the last couple of days... we have been doing all those last minute things to get ready for the CRAFT FAIR tomorrow!!  We are so excited.  It always takes a little more time than we think.  

For all of you who are close to Southern Idaho this weekend, we are in the Twin Falls craft fair. It is at Jerome High School this Saturday from 8 am to 5 pm. Feel free to stop by and see us! We thought we would share on here a few of the items we will be selling for those of you who won't be able to stop by. If you are interested in anything you can find it in our shop, or you can email us.

Here is just a sample of the things will will have in our booth.  Please stop by and visit us! 

Custom Order Family Stitchings

Picture010_zpsa031215f


Picture005_zps31899a9c


Plus so many, many more items, we just don't want to make this post TOO long!  Come by and see us, Saturday at the Jerome High School!!


Wednesday, October 17, 2012

Homemade Bread Bowls and Broccoli and Cheese Soup

This is one of my family's favorite meals. Today was rainy, windy and cold which put me in the mood for something warm and delicious. You will love this.


Bread Bowls:
Ingredients
  • 2 (.25 ounce) packages active dry yeast (2 ½ tsp = 1 package) OR 5 tsp
  • 2 1/2 cups warm water (110 degrees F/45 degrees C)
  • 2 teaspoons salt
  • 2 tablespoons vegetable oil
  • 7 cups all-purpose flour
  •  1 Tbs sugar

  • 1 tablespoon cornmeal
  • 1 egg white
  • 1 tablespoon water

Directions


  1. In a large bowl, dissolve yeast in warm water. Let stand until creamy, about 10 minutes.
  2. Add salt, oil, sugar and 4 cups flour to the yeast mixture; beat well. Stir in the remaining flour, 1/2 cup at a time, beating well with an electric mixer at medium speed after each addition.
  3. When the dough has pulled together, turn it out onto a lightly floured surface and knead until smooth and elastic, about 6 minutes. Lightly oil a large bowl, place the dough in the bowl and turn to coat with oil. 
  4. Cover with a damp cloth and let rise in a warm place until doubled in volume, about 40 minutes.
  5. Punch dough down, and divide into 8 equal portions. Shape each portion into a 4 inch round loaf. Place loaves on lightly greased baking sheets sprinkled with cornmeal. Cover and let rise in a warm place, free from drafts, until doubled in bulk, about 35 minutes.
  6. Preheat oven to 400 degrees F (200 degrees C). In a small bowl, beat together egg white and 1 tablespoon water; lightly brush the loaves with half of this egg wash.
  7. Bake in preheated oven for 15 minutes. Brush with remaining egg mixture, and bake 10 to 15 more minutes or until golden. Cool on wire racks.
  8. To make bowls: Cut a 1/2 inch thick slice from top of each loaf; scoop out centers, leaving 3/4-inch-thick shells. Fill bread bowls with hot soup and serve immediately.   

Broccoli and Cheese Soup:

  •  1 (10 ounce) package frozen broccoli
  • 2 1/2 cups milk
  • 2 1/2 cups cubed processed cheese
  • 1/3 cup all-purpose flour
  • 1 cup heavy cream
  • 1 cube chicken bouillon
  • 1/2 teaspoon salt
  • 1/2 teaspoon ground black pepper
Directions
  1. Place broccoli in a medium saucepan with just enough water to cover. Cook until tender, about 8 minutes. Set aside and do not drain water.
  2. In a large saucepan, heat milk. Blend in the flour and cheese until smooth. Stir in the cream and bouillon cube. Add the broccoli and some of its water until you have the right consistency.  Add salt and pepper. 
  3. Pour into bread bowls and enjoy!
-Meagan-


Tuesday, October 16, 2012

Giveaway!!

We hit 50 followers and we are SO excited!! So we thought we'd celebrate by doing our very first giveaway!! 
Like you've seen...we REALLY like 2x4 projects...and so, we decided to give away one our our favorites! Just in time to add one more cute Halloween decoration to your home! 
To enter:
1: Follow us on Facebook here (feel free to share it with your friends)
and
2: Follow us on Pinterest here

Then leave a message here and let us know! We will select the winner next Monday! So stay tuned!

a Rafflecopter giveaway

Monday, October 15, 2012

Make Your Morning Monday

I randomly came across this video and it is UH-MA-ZING! I couldn't stop listening to it...over and over. Their voices are amazing...and they are darling! I thought it's a great way to start out the week! :)


--Michelle--

**We are getting ready for our first giveaway this week!!! So check back so you can enter!!**

Saturday, October 13, 2012

Projects

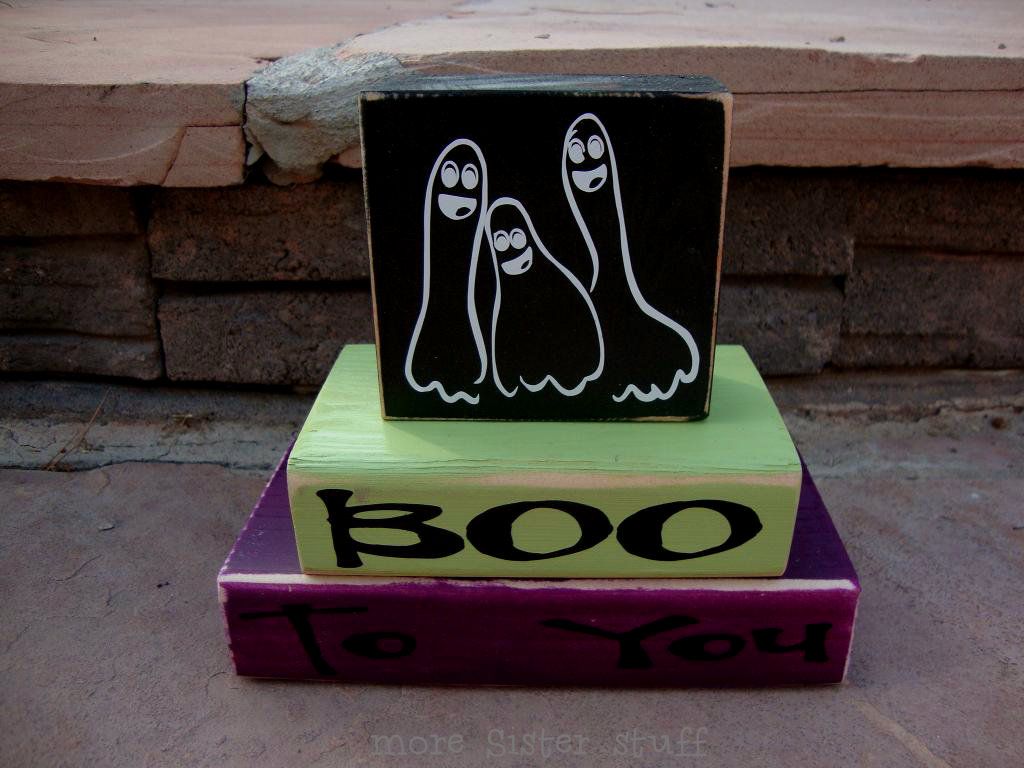
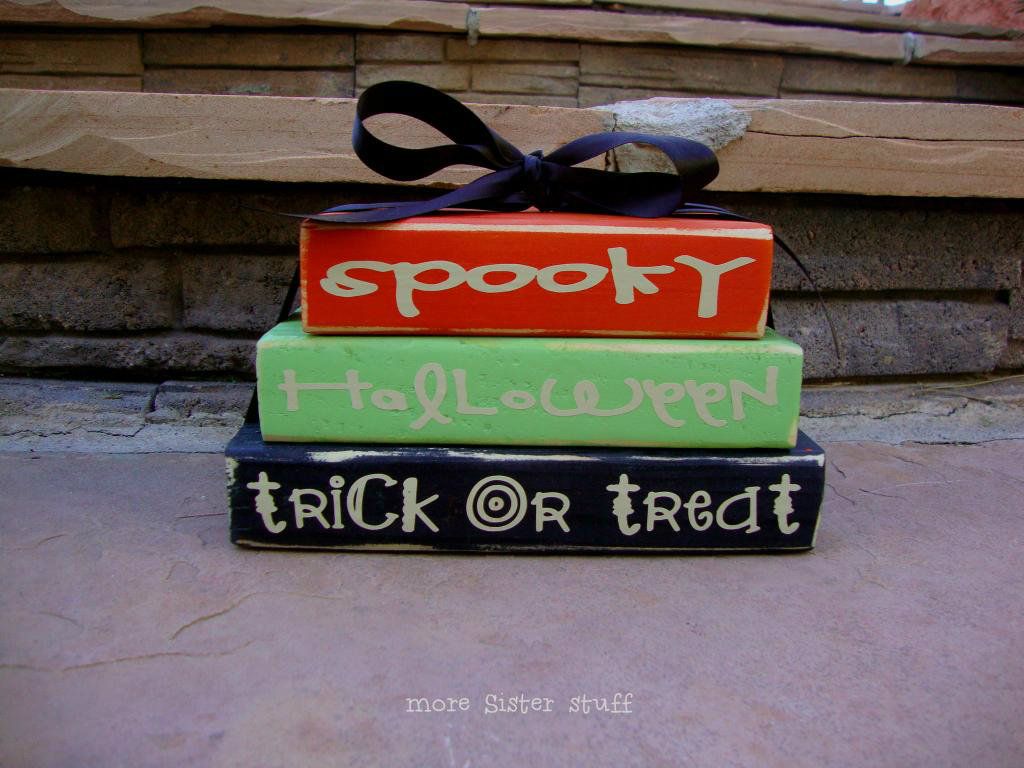
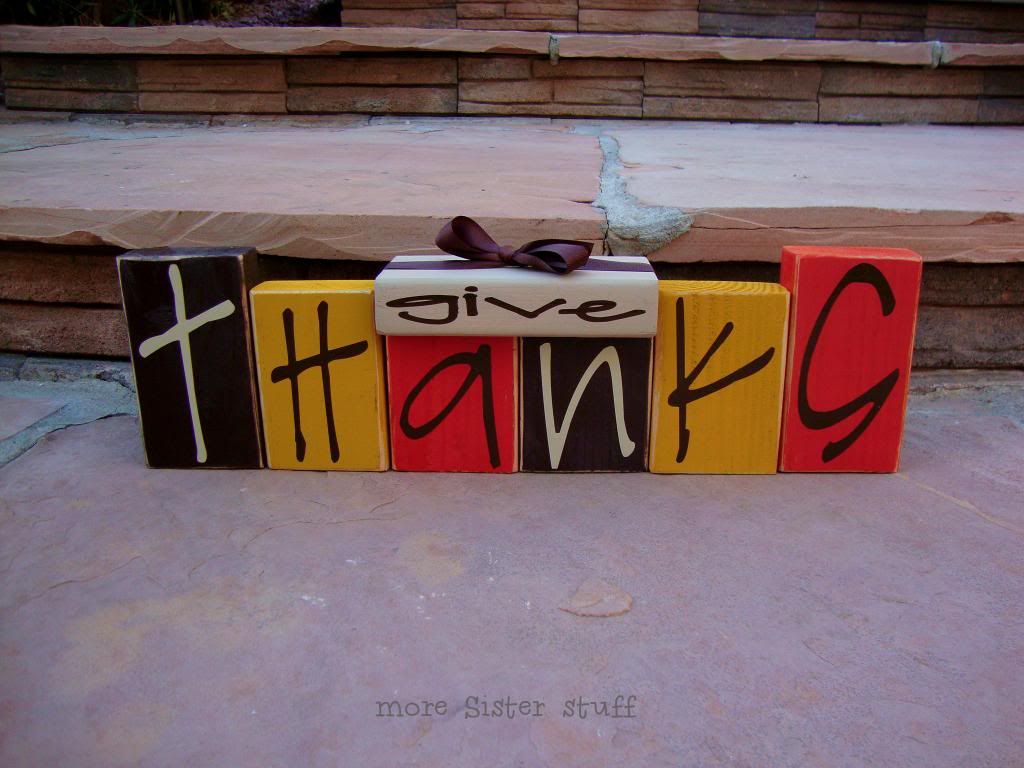
We have a craft fair that is coming up in Idaho a week from today!! We have been swamped trying to get everything done for it! Now that we are FINALLY...almost there, and feel like we can breath, we thought we would do a little sneak preview of a few of the projects we will be selling. We are in LOVE with the 2 x 4's with vinyl on them!
Picture005_zps31899a9c


Picture007_zps4d8f2d9c


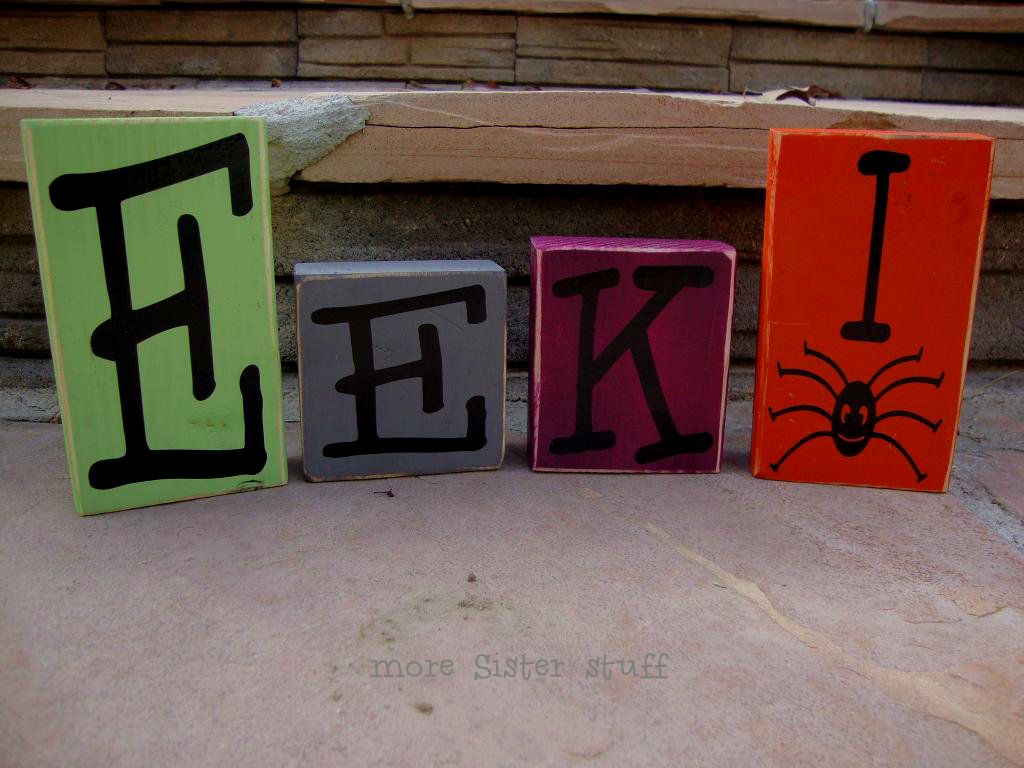
Spooky


Thanks

--Michelle--

Friday, October 12, 2012

We were nominated for the Liebster Award


The Liebster Blog Award is given to bloggers by bloggers. It is a way to acknowledge each other and say “you’re doing a great job”. It is for blogs with 200 or less followers, so it’s also a great way to spread the word about smaller blogs and get them more readers and followers! 


When you receive the award, you post 11 random facts about yourself and answer 11 questions from the person(s) who nominated you. You pass the Award onto 11 other blogs (make sure you tell them you nominated them!) and ask them 11 questions. You’re not allowed to nominate the blog(s) who nominated you! (To get the button, right click the picture on my page and save the picture to your computer. You can then upload to your blog.) Thank you It's Sarah Rose for nominating us!!

11 Random Facts about me:
1. I LOVE sports! Growing up I played volleyball, softball and basketball. One of my husband and I's favorite things to do is going to any live sport game, and relax and enjoy each other's company.
2. I've been married for 5 years (in two weeks from today! Yay!) We have moved 9 different times to 4 different states.
3. My birthmark is on the palm of my hand and it's shaped like the Superman logo...minus the S.
4. My dream vacation is Bora Bora...and an African Safari
5. I'm a H.U.G.E sun worshiper 
6. Embarassed to admit...I'm a TV show junkie! Some of my favorite shows are Scrubs, Modern Family, Prison Break, The Cosby Show, Rob and Big...just to name a few.
7.I have vivid dreams every single night..it's odd for me if I don't remember my dreams when I wake up
8. I'm a HUGE cancer phobe(if that's how you spell it! Our Mom had cancer when we were younger...and I'm always so afraid of us getting cancer from everything. It doesn't help that growing up, especially in college, I would lay out for an hour each day.
9. I LOVED being pregnant!! I miss feeling a little baby inside of me, I'm jealous of other women that are pregnant.
10.I want to be better at reading...another sad thing to admit...I usually only read maybe 2 novels a year.
11. I have so many dreams for myself! I stay at home and am always thinking up new ideas that I love and can make a little extra $$. That's where a lot of our little crafts have stemmed from, our stick family pictures and our baby clothes and vinyl projects  ...and I have so many more ideas, keeps me busy and I love it!

11 Blogs we nominated:
Melissa @ The Alchemist
Stephanie @ Silver Boxes
Hailey @ The Morris MoJo

11 Questions we were asked:
1. When did you start your blog?Almost exactly a year ago!
2. What goals did you have for your blog when you started and how have they changed since? When we first started it was just a way to keep all of us sisters updated on all of the projects and recipes we have. I'm a big time blogger...and I read all of these cute blogs and thought, I want our blog to be like that! So we've decided to reach out and make it bigger.
3. What was your favorite movie when you were a child? Little Mermaid, I would always pretend I was Ariel in the tub.
4. If you could have a mommy's night out tonight, where would you go? If you don't have children, where would you go tonight if you could go anywhere? Definitely get pedi's and go out to dinner.
5. If you could have another/a child right now, what would you name him or her? Bentley! LOVE that name!
6. Have you ever played an instrument? Violin and Piano
7. What is one thing on your to do list this week? Get everything ready for an upcoming craft fair...and camping this weekend.
8. What's your favorite song currently? Whistle by Flo Rida, I LOVE to whistle, a lot of us in our family do...we get it from our Dad, so I like it because I whistle along with it and no one can make fun of me :)
9. What character is your child currently obsessed with? If you don't have children, who's your celebrity crush right now? Any dog...she loves dogs!
10. What's your favorite childhood memory? Family vacations, to Disneyland, camping anything...cramming all of us into our big ugly van!
11. Who's your best friend and why? My husband is my number one! I just love him so much, all 6 of my sisters have always been some of my closest friends, and my best friend growing up...and I still consider her as one of my best friends is my cousin Emily. :) I'm one lucky girl! I've been blessed with amazing people in my life!

11 Questions for our nominees:
1. What is your favorite thing about blogging?
2. What is your favorite thing to cook?
3. Are you a Mac or PC person?
4. What is your least favorite chore around the house?
5. What is your dream job?
6. What is your favorite book?
7. Would you rather snow or sun?
8. What inspiring quote do you live by?
9. What is the last movie that made you cry?
10. What is your favorite season?
11.  If you could travel anywhere in the world for a week all inclusive vacation, where would you go?

Thursday, October 11, 2012

My newly refinished table!

Oh how excited I am to do this post! I have lived in Utah now for just over a month and finally have a kitchen table to sit down to eat our meals at now.  Oh joy! So my brother and sister in-law got a new, lovely, kitchen table and gave us their old one.  Here is what it looked like when we got it--

Since we have had it, I went and bought some paint at a place called Four Chairs Furniture in Lindon.  We spent about fifty dollars on the paint and finish.  While I was there, she gave me some tips on how to do the look I wanted.  She first told me to sand it down to the wood and make sure to get it to that point, or the paint won't stick as well.  So I sanded it down.  My sweet husband did the chairs while I was at work one day, and apparently it took a lot longer than my job on the table.  It was nice of him! Once all of the sanding was done, it was time to paint! My plan for the table was white underneath and a black top.  I wanted it to have the distressed look, so when I started it I painted black all over-3 coats.  Another tip I was given, was get paraffin wax and put it on the black coat where I wanted to distress it.  I did this, and am still unsure on if I like it or not.  Why I say this is because when I sanded the white to get to the black, it just rubbed right off and did more distressing in some places than I wanted.  Anyways, after the wax, I painted 3 coats of white paint on the bottom of the table.  I gave it a day or two to dry (only so long because I was busy with other stuff, but one day is plenty).  After I was done painting the table, I did the finish coat.  Again, she told me to paint a coat, let it dry, and then sand it with a brown paper bag.  Do this between each coat, and there will be three coats of finish also.  Sounds weird, but I did it anyways.  Once the table was done, I painted the chairs completely black and our bar stools black top with white underneath.  I also coated those in the finish.  I let them dry and put them all back where they go, and now we actually eat at our kitchen table! Here is the finished product!
A closer look at the bottom so you can see the distressing--
And the stools--
There is my project that has been consuming my time for the past month! Hope you enjoyed!
-Melanie

Wednesday, October 10, 2012

Sale!

I love at the end of the season of things go on sale...and right now DownEast is having an awesome sale on swimsuits! Their tops are $15 and bottoms are $5!! That's a steal!! Head on over and check it out! http://downeastbasics.com/swim.aspx


The Casual Vacancy

I was at the grocery store today and randomly at the end of an isle I a book caught by eye...it was written by J.K. Rowling. I haven't heard a single thing about it! I had no idea she was coming out with a new book. Once I got home I checked out library to see if they had it...and I am on the waiting list as number 357! So I guess others have heard of it before me, it came out September 27th. I just thought I'd share with those of you interested. I L.O.V.E.D Harry Potter! So I'm exited to read this. It's a book for adults, and I read the reviews on Amazon and it looks like it's mixed reviews...from what I can tell it seems people were probably going into it thinking it would be like Harry Potter, but it's nothing at all like it. Here is the book description that was on Amazon:

"When Barry Fairbrother dies unexpectedly in his early forties, the little town of Pagford is left in shock. Pagford is, seemingly, an English idyll, with a cobbled market square and an ancient abbey, but what lies behind the pretty façade is a town at war. Rich at war with poor, teenagers at war with their parents, wives at war with their husbands, teachers at war with their pupils…. Pagford is not what it first seems. And the empty seat left by Barry on the town’s council soon becomes the catalyst for the biggest war the town has yet seen. Who will triumph in an election fraught with passion, duplicity and unexpected revelations? Blackly comic, thought-provoking and constantly surprising, The Casual Vacancy is J.K. Rowling’s first novel for adults."

If you've read/read it let me know what you think!
--Michelle--

Tuesday, October 9, 2012

Grandma's Apple Crisp

For our Wedding our Grandma gave each of us a family cookbook.  It was a compilation of lots and lots of favorite family recipes.  It is an ever expanding book with new pages added all the time.  One of my family's all-time favorite is her Apple Crisp.  I love the fall when the apples are ready, and I almost immediately make an apple crisp.  I picked apples today, and, well, yes... I had to make a crisp.  Good thing I had a good excuse, we were invited for dinner to a friends' home.  And now my house smells a little like heaven.


Grandma's Apple Crisp

6 C. sliced apples (about 9 Granny Smith apples)
1 heaping tsp. Cinnamon
1 Tbsp. Lemon Juice
1 stick margerine or butter
1 C. flour
1/2 C. granulated sugar
1/2 C. brown sugar
1/2 tsp. nutmeg

Arrange apples in a 9 x 13 greased pan.  (I fill my dish to almost overflowing, sometimes more than 9 apples) Sprinkle apples with lemon juice unless you are using tart apples such as Granny Smith or Winesap.  Sprinkle with cinnamon.  Mix butter, flour, sugars, and nutmeg until well blended and crumbly.  Spoon over top of apples in a think layer.  Bake at 350 for 30 to 35 minutes, until crust is light brown and crisp.  Serve warm with whip cream or ice cream.


This smells so wonderful while it is cooking, the aroma of cinnamon and apples is hard to beat!!

~Rachel~

Monday, October 8, 2012

Baby Scrapbook Pages

So these are much more old fashion than Michelle's cute digital ones, but they might offer some cute ideas for the scrapbooker!  These are some of my Baby Scrapbook Pages.  Some of them I have copied from Rachel, thanks! by the way, so she can claim the idea if she'd like too!

1.


This is my "Baby Pool Page".  I asked everyone from both sides of the family what their guesses were for the sex of the baby and what day they thought he/she would be born.


The first page I made like a calendar with everyone's name, date of guess, and
guess of the sex of the baby.


2.  The second page were pictures of the ultrasound with the announcement, "It's a . . . "


3.  I add this one here because I was pregnant when I took the picture.  We received the "K" or strike pages at the game that night.  I thought it would make a cute makeshift ball field.


4.  This was an idea I had with all of the cards I received at my baby showers.  They were just too cute to throw away!  I figured I could preserve a little of what everyone had shared through the scrapbook page.  I did one for each of my boys.


5.  You definitely have to have a birth announcement page and this was what I came up with for mine.  I put the actual fun certificate page into just a plain 8X10" sheet protector.  I taped the crib card and the ID bands from my husband, my son and myself on the side, providing enough room for the certificate to still fit too. 

Next, I put one eyelet through the certificate and sheet protector.  Then I laid it on the 12X12" page protector after I had inserted the page with crib card and ID bands attached.  I lined it up so you could see everything and then marked where the 3 ring holes lined up and where the eyelet hole I had already punched into the certificate.  I also made hole spots on the 8X10" certificate page to line up with the 3 ring holes about 1/4" in.  I then punched eyelet holes through the 12X12 page and protector, and through the 8X10" page. 

Finally I attached skinny blue ribbon, long enough that I could comfortably tie bows at all of the eyelet holes.  I cut a 10" slit into the 12X12" page protector to allow the sheet protector and bows to be under the protector too.  However, now that I have said that, you may choose just to attach it to the outside of the page and that would be just fine too!

The eyelets and ribbons will allow you at be able to view both sides of the birth certificate and those adorable, tiny feet without having to take a page in and out or photo copy something!


6.  Rachel gave me this idea. I think she had done if for one of her girls. For this one, you just make several even eyelet holes along either side of the page at equal distances. I chose to use 3 different boyish colors: blue, green and yellow. Then, I got several boyish color of the 3 for $1.00 (on sale) ribbon's from Michael's to stretch across. One a chosen few, I added a few colorful beads to add some more depth. I think I bought a little bag at Michael's or Walmart for like $1.00. I printed this picture black and white so I could do it on the black page, but it would be cute in color too! I think the page turned out so cute.


7.  Now that the little doll is here, we have to make some fun memories!  This one was really easy.  I did the black and white pages and typed the little message up on a blue sheet of cardstock that matched the blue print.  The blue print, I tore into 4 different pieces, varying in sizes.  After mounting the pictures on the blue and black cardstock pieces, I started putting them on in the directions of the torn pieces.  I added fun shaped blue buttons that I literally sewed on with a needle and string! 

Last but not least, I had these cute paper clips that I added to the 2 big pictures for the finishing touches!
**One tip I do to save paper on borders of paper, because I am cheap!  I will cut 1/2" strips the length of the cardstock or paper I plan to use as the border.  I will then attach the two long sides to the picture, however wide I want it.  I will then cut the corners at an angle (at all 4 corners).  Then I will add the shorter sides using the same width.  Then I will cut the excess off!  It gives it a nice angled corner and a polished look.  You can use one sheet of paper to go a really long way.  Just an idea!


8.  This is one of my favorite pages.  Rachel made Evan a red blanket, just like this pattern.  I thought a page like this would be awesome.  I made even size pieces of colored papers.  I believe they were 4X4".  I then folded 1/4" around the edges of all of them and taped them to a white 12X12" sheet of paper with the turned up edges touching.  Once I had all of it attached, I just started making cuts down the folded edges.  Then I started folding them every other direction until I got the effect of the blanket!


9.  I had a little photo shoot with Evan and my down comforter one day when he was feeling under the weather.  The pictures were so cute and matched the paper so perfectly.  I just alternated the color of border on the pictures with a couple having both colors, and just kind of threw them on the page!


10.  My Great Grandmother, Preston's Great-Great Grandmother gave him this cute little duck outfit.  How could I resist a page?  I thought it would be neat to somehow tie the pages and colors together kind of in a corset manner.  I cute the yellow strip in the middle first and then laid it on a black 12X12 sheet to get the right sizes to attach on the left side.  Then I cute the black triangle size I wanted on the Right page and laid it down on the yellow sheet measuring in the same manner.  Once they all fit, I taped them to a blank white sheet, then started lining up where I wanted the eyelets to go.  Once they were all punched and hammered in, I started sewing the ribbon through.  Make sure to make the ribbon extra long so you will have enough.  On the first side, I went up one side, over, back down the other side, and then tied it off.


11.  This was one I also made from some of the tissue paper from my baby shower.  I laid it over the yellow 12X12 paper and taped it to the back side.  The letters I made with squares that were about 1 1/4" and a large adhesive letter.  It was a really easy page to make and it brings back memories of the baby shower every time I look at it.
 

These are the baby ones I have done I think are cute! 
~Stacy~


Related Posts Plugin for WordPress, Blogger...